Understanding the Dumpster Rental Process from Start to Finish

Managing large amounts of waste during renovations, estate cleanouts, or construction projects doesn’t have to be stressful. A well-organized dumpster rental Flint MI service offers a seamless way to contain and remove debris efficiently.
Knowing how dumpster rental works—what to expect, and how to prepare—ensures your project runs smoothly. By understanding each phase of the process, you prevent surprises, avoid extra fees, and protect your property from unnecessary damage.
Knowing how dumpster rental works—what to expect, and how to prepare—ensures your project runs smoothly. By understanding each phase of the process, you prevent surprises, avoid extra fees, and protect your property from unnecessary damage.
Step 1: Assess Your Waste Disposal Needs
Every project generates a different type and volume of waste, so a thoughtful assessment up front saves time and money later. Are you tackling a home remodel, a major garage cleanout, or managing job site debris? Break down your waste types—wood, drywall, appliances, yard debris, or general trash—and estimate the total volume. This estimate is crucial for choosing a dumpster size and type that matches your needs.
It’s important to identify items that the dumpster might not accept. Materials like batteries, chemicals, paint, and tires are often prohibited due to local disposal regulations. Check your rental provider’s guidelines and community ordinances to prevent unexpected restrictions or fines.
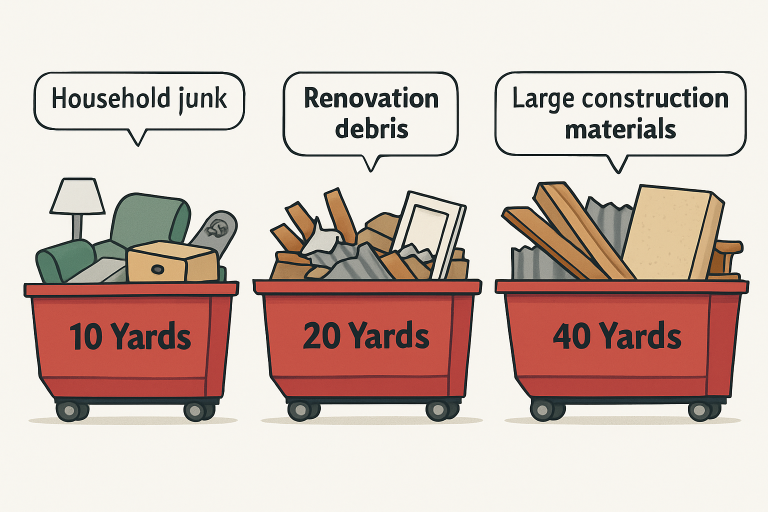
Step 2: Choose the Right Dumpster Size
Dumpsters come in various sizes measured in cubic yards, typically ranging from 10 to 40 yards. A 10-yard dumpster is suitable for small cleanouts or minor remodeling projects, while larger options—like 20, 30, or even 40-yard containers—are designed for extensive renovations, roofing jobs, or new construction. Choosing the right size prevents overfilling, which can lead to safety hazards and additional fees, or selecting a container that’s too large and overspending needlessly.
Common Dumpster Sizes and Uses:
- 10-yard: Ideal for attic or basement cleanouts, small landscaping jobs.
- 20-yard: Best for medium-scale remodels and flooring projects.
- 30- or 40-yard: Suited for large renovations, roofing, or new builds.
Step 3: Find a Reputable Dumpster Rental Company
Start your search by evaluating local providers based on transparency, pricing, and service reliability. Read customer reviews on trusted platforms and clarify all rental terms, including weight limits, fees for overages, and policies on prohibited items. It’s also wise to confirm the rental company is licensed and insured—this protects you during the rental period. Beware of unusually low quotes, as they can signal hidden fees or scams.
Step 4: Book Your Dumpster
After selecting your provider and ideal dumpster, schedule delivery for when your project begins. Most companies make the process easy, and some offer online reservations for added convenience. Be ready to share the delivery address, requested delivery date, and expected rental period. Confirm whether the price quoted includes drop-off, pickup, and disposal fees or if additional charges apply for items exceeding the weight limit or rental duration.
Step 5: Prepare for Delivery
Preparing the delivery area is essential for a problem-free drop-off. Clear all vehicles, overhanging branches, and obstructions from the chosen spot to give the truck enough room to maneuver. If you plan to place the dumpster on a city street or sidewalk, secure any required permits in advance by contacting your municipality’s public works department. Placing wooden boards beneath the dumpster helps shield driveways or paved surfaces from potential damage.
Step 6: Fill the Dumpster Properly
Once delivered, fill the dumpster evenly and keep all debris below the rim to comply with transportation safety laws. Distribute weight across the container to avoid tipping, and never dispose of hazardous or restricted items unless explicitly allowed by your rental company. Proper loading not only ensures a safe pickup but also helps you maximize your container’s capacity without incurring extra fees.
Step 7: Schedule Pickup
When your project wraps up or the dumpster nears capacity, contact your rental company to arrange for a timely pickup. Lead times can vary—it’s advisable to provide notice at the start of the week or at least 24–48 hours ahead, especially during peak seasons. This prevents accidentally extending your rental and accruing additional charges.
Final Thoughts
Navigating the dumpster rental process efficiently starts with a clear understanding of the steps involved, from assessing your needs to following best practices for loading and disposal. By choosing the proper size, preparing your site, and working with a reputable provider, you’ll handle your waste quickly and responsibly.