The Frugal Mom’s Guide to Building a Sensory Play Kit on a Budget
Finding new ways to keep children engaged at home without spending a fortune is a familiar challenge for any parent. Whether it is a rainy weekend or you are searching for activities to keep the kids entertained on summer vacation, the costs of family outings and branded toys add up surprisingly fast. Marketing often pressures parents to purchase expensive educational toys to hit developmental milestones. However, kids do not care about price tags. They just want to explore the world around them.
Creating your own sensory bins is surprisingly affordable and provides hours of educational entertainment. By building a DIY sensory play kit, you can foster your child’s creativity while staying completely true to your family budget. When you buy bouncing putty, for example, you invest in a versatile and reusable item that costs far less than constantly replacing messy craft supplies or expensive therapeutic clays.
Why Sensory Play is Worth the Effort
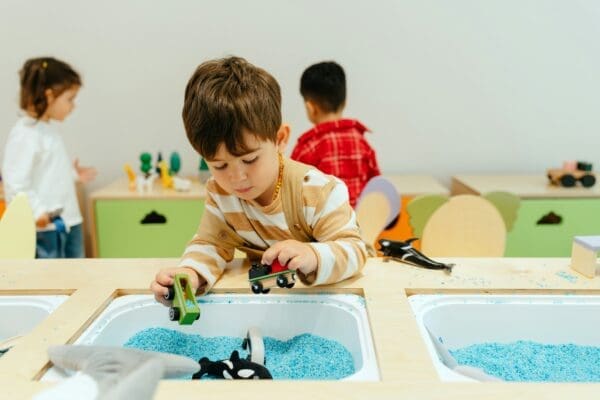
Before diving into how to build a kit for less, it helps to fully understand why this type of play is so important. Sensory bins are not just about making a mess or keeping toddlers busy while you drink a hot cup of coffee. They are vital tools for early childhood development.
According to the Cleveland Clinic, engaging in tactile play that involves building, pouring and mixing helps children build their ability to use small muscle groups and coordinate movements. Strengthening these fine motor skills early on physically prepares kids for essential daily tasks like writing, tying shoelaces, buttoning shirts and holding utensils properly. You absolutely do not need expensive, pre-packaged therapy toys to unlock these developmental benefits. The focus is simply on giving their hands different textures and tasks to explore.
Core Items for Your Budget-Friendly Kit
The secret to a fantastic, budget-friendly sensory kit is variety and reusability. You want textures that will hold their attention without requiring a massive or expensive cleanup. Instead of purchasing pricey specialty items, focus on affordable and long-lasting alternatives.
Here are a few smart, low-cost additions to start with:
- Tactile bases: Reusable materials are key to keeping costs down. Look for non-toxic options that children can stretch, squash and mould repeatedly without the material drying out. Putting a focus on durable items ensures you get the most value for your money.
- Storage tubs: Head to your local discount shop for a shallow, wide plastic storage container. It needs to be large enough to contain the play but small enough to slide under a bed.
- Scoops and tongs: You do not need to buy specific, branded sensory tools. Plastic measuring cups, small silicone kitchen tongs, ice cube trays and clean yogurt spoons work perfectly for scooping, sorting and transferring materials.
- Hidden treasures: Small plastic animal figures, large buttons, or safe household trinkets are fantastic for burying in the sensory base, encouraging children to dig and search.
Free Household Items to Add
Once you have your base and containers sorted, you can fill out the rest of your sensory kit using items you already have sitting in the pantry or the recycling bin. This is where the true frugal magic happens.
Uncooked rice, dried beans or spare pasta make brilliant, inexpensive fillers for pouring and measuring. If you want to make it extra special, you can easily dye the rice using a few drops of food colouring and a splash of vinegar. Old cardboard tubes from paper towels can be cut into different lengths to create funnels, bridges and chutes for the dried beans to travel through.
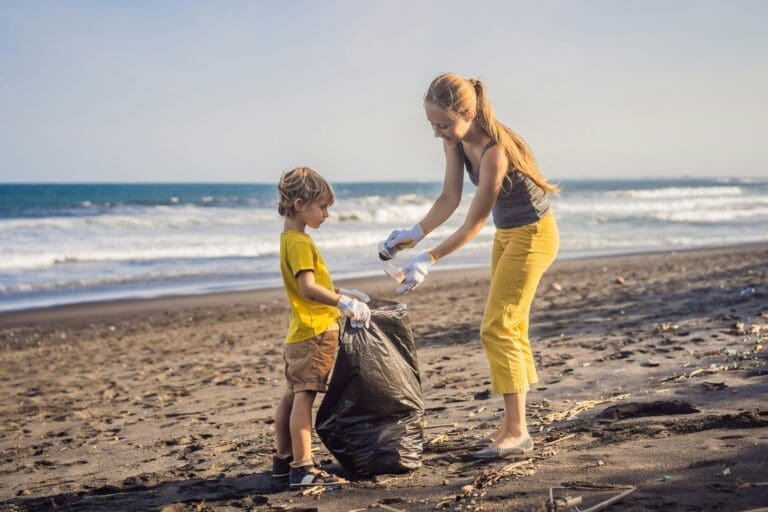
You can also venture out into the garden to collect smooth pebbles, sturdy leaves, twigs and pinecones. These natural elements introduce exciting new textures, smells and weights to their playtime at absolutely no cost. Mixing natural items with indoor household objects adds a wonderful contrast for little hands to explore.
Keeping It Organized and Low-Mess
The biggest hesitation many parents have with sensory play is the potential for a massive mess. To keep your sanity intact and your home tidy, establish clear physical boundaries for the activity. Place an old bedsheet, a beach towel or a cheap plastic shower curtain directly under the sensory bin before the kids start playing. When playtime is finally over, you can simply gather the corners of the sheet and funnel any stray rice or pebbles right back into the main container.
Keep all your individual sensory items in airtight zip-lock bags or small plastic tubs within your main storage container. This stops everything from mixing into one giant, unusable lump and keeps the materials fresh for the next time. It also allows you to easily rotate different textures and tools, so the kit feels brand new every single time you bring it out. By getting a little creative and using what you already have, you can provide all the cognitive benefits of sensory play without breaking the bank.