The Beginner’s Guide to Model Making: Essential Tips and Tools
Architectural models are miniature replicas of buildings and they are a vital tool in the design and presentation process, helping architects and clients visualize spaces in three dimensions.
Whether it’s a simple study model or a detailed presentation piece, the craft of creating architectural models is both an art and a technical skill that has evolved significantly over the years.
Understanding Architectural Models
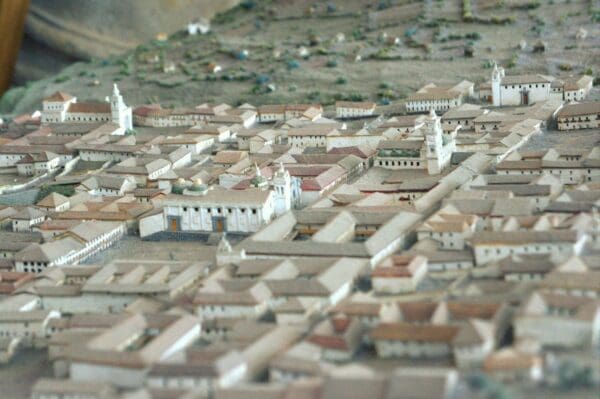
An architectural model represents a physical build, providing a tangible way to evaluate the design and aesthetics of a project before the actual construction begins.
These models can range from basic conceptual sketches to detailed replicas used for client presentations, showcasing everything from the layout to the materials and colors envisioned by the architect.
Tools and Equipment Needed
Starting in model making requires some basic tools: cutting knives, scissors, rulers, and adhesive.
For those aiming for precision and detail, advanced tools like laser cutters and 3D printers might be worthwhile investments.
Remember, safety first—always use gloves, masks, and safety glasses to protect yourself during the process.
Planning Your Model
Before diving into building your model, you need to understand the architectural drawings and decide on the scale, which is crucial for accuracy.
Choosing the right materials will affect the outcome and workability. For beginners, materials like foamex at Simply Plastics, balsa wood, and cardboard are manageable and readily available.
Once you have got everything in place, you can begin the process of model making. Here is a step-by-step guide to making an architectural model for beginners.
Gathering Materials
Collect all the necessary materials based on your model plan. Ensuring you have everything before you start saves time and maintains focus.
Preparing the Base
Your model’s foundation is crucial. Cut the base to your planned dimensions and lightly mark where major structures will sit. This helps in visualizing the space distribution.
Building the Framework
Measure and cut the framework pieces, constructing a skeleton to support walls and roofs. Assemble these using glue or fine pins, ensuring everything is perfectly aligned.
Adding Walls and Structures
Now, start shaping the building’s walls and main structures. Attach these to your framework, checking stability and accuracy with your plans.
Detailing
This step brings it to life. Add doors, windows, and other architectural elements. Consider techniques like scoring card for brickwork or using textured paper for roofing materials.
Painting and Finishing Touches
Select paints that represent the actual materials you aim to mimic. Apply carefully, adding multiple layers if necessary, and finish off with any landscaping or external features to enhance realism.
Displaying and Presenting Your Model
Once it is complete, consider how you will present it. Good lighting and a stable platform are essential for showcasing the details. When transporting, ensure the model is securely packaged to prevent any damage.
Creating your first architectural model is an exciting venture into understanding spatial design and architectural aesthetics.
It’s about precision, patience, and creativity. So, take your time, enjoy the process, and let it be a reflection of both your technical skills and your creativity.
As you grow more confident, the complexity of your models can increase, expanding your ability to communicate more intricate architectural ideas.