4 Steps Involved In The Dental Implant Process
Missing teeth can drain your confidence and strain your health. You may avoid smiling. You may chew on one side. You may even skip social events. Dental implants offer a steady way to replace lost teeth and protect your mouth. You deserve to know what will happen before you agree to surgery. This guide walks you through the 4 steps involved in the dental implant process so you can feel prepared and calm. You learn what happens before surgery, during placement, during healing, and during final tooth attachment. You also see how a dental implant specialist in Santa Ana, CA plans your care with your goals in mind. Clear steps reduce fear. Clear steps also help you ask sharp questions and spot problems early. With the right plan, you can move from worry to relief and regain steady function when you eat, speak, and smile.
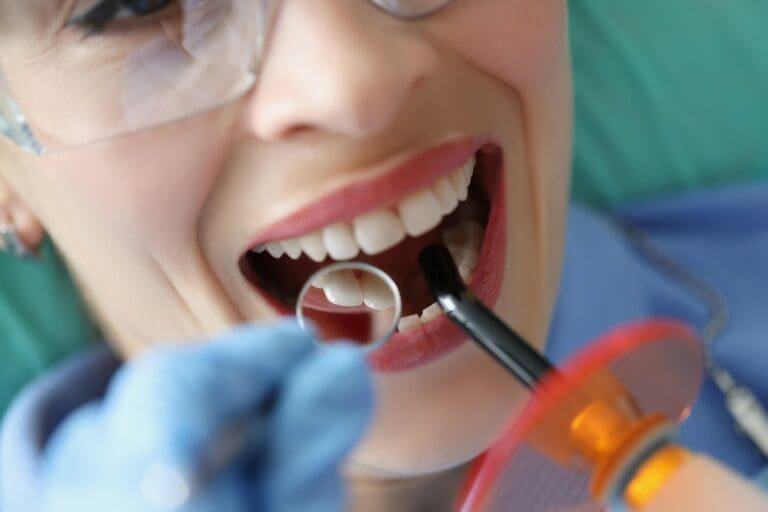
Step 1: Evaluation and Treatment Planning
The first step is a full check of your mouth and health. The dentist looks at your teeth, gums, and bite. You talk about your goals, fears, and medical history. You also review any medicines you take.
Next, you get images of your mouth. These often include digital X rays or 3D scans. They show bone height, bone width, and nerve paths. They also show sinus spaces in the upper jaw. This helps your dentist decide if your bone can hold an implant post.
During this visit you learn if you need extra steps. You may need:
- Tooth removal before the implant
- Bone graft to build up thin or soft bone
- Gum treatment for infection
You also talk about cost, number of visits, and healing time. You get a written plan in plain language. That plan should list each step, each fee, and realistic timeframes.
Step 2: Implant Placement Surgery
Step two is placing the titanium post in your jaw. This post acts like a new tooth root. You receive numbing medicine so you feel pressure but no sharp pain. In some cases, you may also receive light sedation if you feel strong fear or need longer work.
The dentist opens the gum, shapes a small space in the bone, and gently threads the post into place. Then the gum is closed over or around the post. A small cover or healing cap protects the inside part.
This visit often takes one to two hours for a single implant. If you need many implants or extra work, it can take longer. You go home the same day with clear written instructions.
You are told how to:
- Use cold packs to reduce swelling
- Take pain medicine as directed
- Rinse with salt water after the first day
- Eat soft foods that do not stress the new site
Step 3: Healing and Osseointegration
Next comes healing. This stage is quiet but powerful. Your bone grows around the implant post. This process is called osseointegration. It creates a tight link between metal and bone. That link lets the implant handle chewing force.
Healing time varies. It often ranges from 3 to 6 months. During this stage, you still see your dentist for checks. The dentist checks your bite, gums, and implant site. You may wear a temporary tooth for looks.
Your choices during healing matter. You should:
- Keep the site clean with gentle brushing
- Avoid smoking or vaping
- Limit hard or sticky foods on that side
Smoking and poor cleaning raise the risk of infection and implant failure. Strong control of blood sugar also helps if you have diabetes. The Centers for Disease Control and Prevention’s oral health page explains how health conditions affect your mouth.
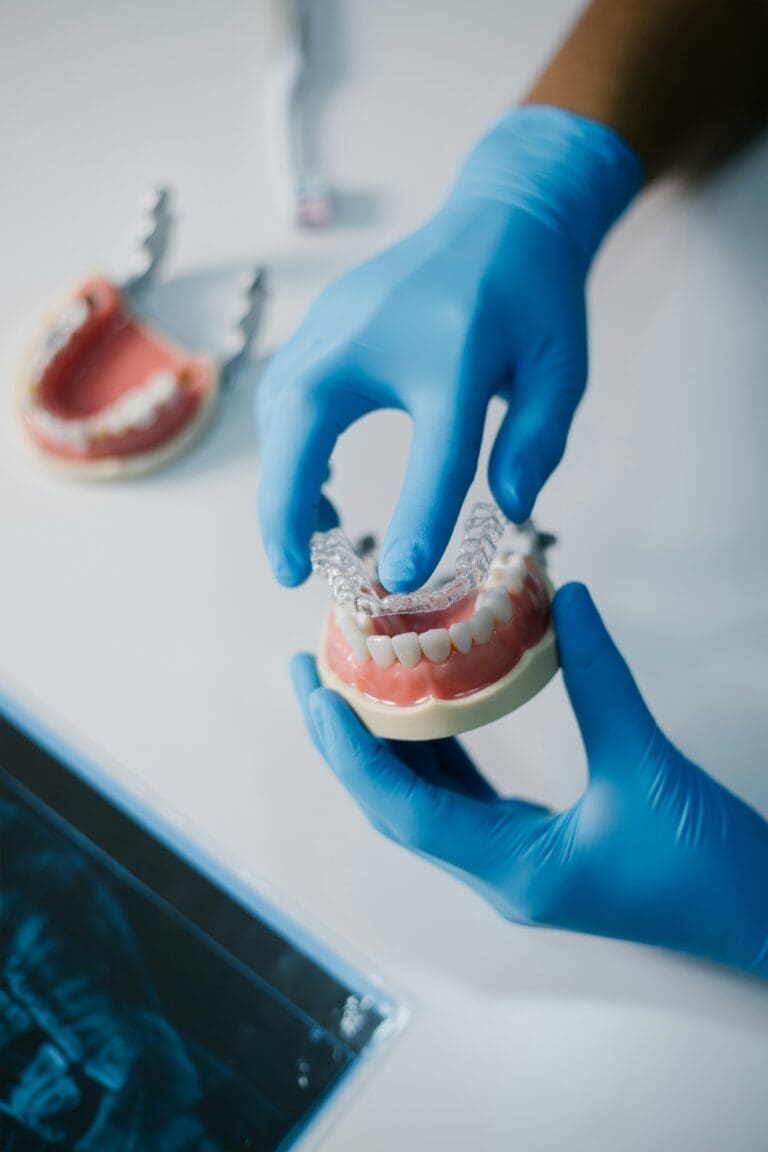
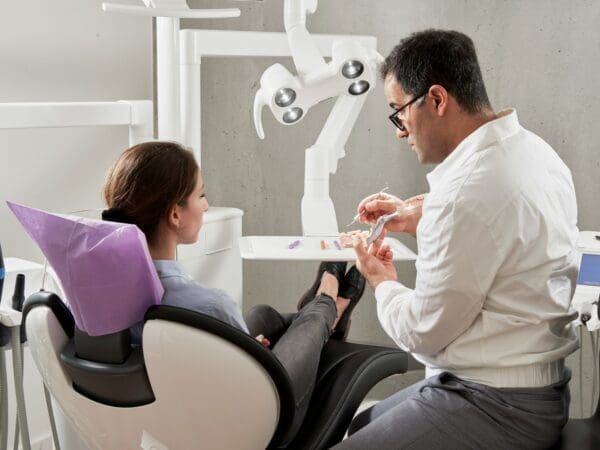
Step 4: Abutment and Final Crown Attachment
When the implant has bonded with bone, you move to the final step. Your dentist checks the post with gentle pressure and X-rays. If it is stable, the dentist attaches an abutment. This is a small connector that links the implant post to the new crown.
You often receive local numbing for comfort. The dentist shapes the gum around the abutment so cleaning is easy. Then the dentist takes impressions or digital scans of your teeth. A lab uses these records to make a custom crown that matches your other teeth in shape and color.
At the last visit the dentist attaches the crown to the abutment. The dentist checks your bite in three ways:
- How your teeth meet when you close gently
- How your teeth meet when you chew
- How your teeth move when you slide side to side
The dentist may adjust the crown so your bite feels even and safe.
Dental Implants Compared With Other Tooth Replacement Options
You may still wonder how implants compare with other choices. This table shows key points for a single missing tooth.
| Option | What It Is | Effect on Nearby Teeth | Bone Support | Typical Lifespan with Good Care | Daily Cleaning |
|---|---|---|---|---|---|
| Dental implant with crown | Titanium post in bone with a single crown on top | Leaves nearby teeth untouched | Helps maintain jaw bone height | 10 years or longer | Brush and floss like a natural tooth |
| Fixed bridge | Crown on each side with a false tooth in the middle | Requires shaping nearby teeth for crowns | Does not stop bone loss under a missing tooth | 7 to 10 years | Brush plus special floss or cleaners under the bridge |
| Removable partial denture | Plastic or metal base with one or more false teeth | Clips may stress nearby teeth | Does not support bone under missing tooth | 5 to 7 years | Remove and clean daily |
Aftercare and Long Term Success
Your role does not end when the crown is placed. Long-term success depends on steady care. You should:
- Brush twice a day with a soft brush
- Clean between teeth and around the implant every day
- See your dentist at least twice a year
Your dentist may suggest special floss, tiny brushes, or water cleaners to reach tight spots. You should also tell your dentist if you grind your teeth at night. A night guard can protect your new tooth from heavy force.
Redness, swelling, or bleeding around an implant is not normal. Pain when chewing also signals trouble. Call your dental office quickly if you notice these signs. Early care can often save an implant.
With clear planning, careful surgery, patient healing, and steady home care, dental implants can feel strong and look natural. You gain back the simple comfort of chewing on both sides, speaking without worry, and smiling without hiding your teeth.
Ultimately, committing to this lifetime of routine maintenance is the absolute best way to protect your physical and financial investment. According to this dentist who does teeth whitening in Staten Island NY, by combining diligent daily habits with professional clinical oversight, your new restorations can remain functional, secure, and radiantly healthy for decades to come.